Table of Contents
This section shows you how to set up Pogamut 3 with Eclipse IDE. It covers all the steps from Eclipse installation to launching a Pogamut bot within Eclipse. All credits go to Clement Liew.
-
Download Eclipse IDE for Java Development
-
Unpack it to some place, e.g. c:\eclipse
-
Turn off UAC (some plugins are having problems with UAC during installation)
-
See Subclipse Download and Install web page
-
Copy to clipboard correct update site, e.g. http://subclipse.tigris.org/update_1.8.x
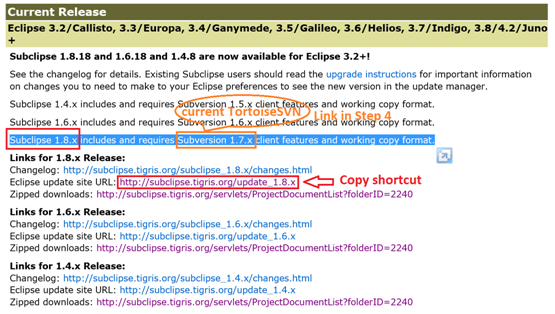
-
Startup Eclipse, go to

-
Click on button on the right-upper side of the dialog
-
Add new update site (name it Subclipse and provide link from the clipboard from the Subclipse site)
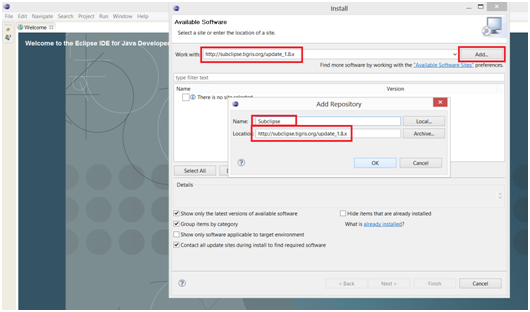
-
List your new site from the combobox
-
Install Subclipse plugins
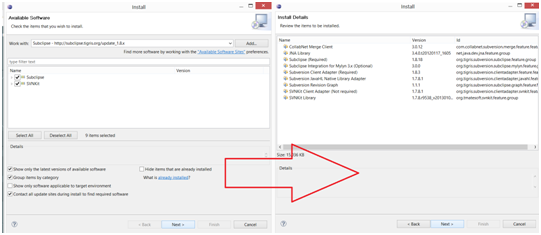
(this step is not required as of Eclipse 3.7.2 version that has M2E bundled, applies if you're using IDE for Java Developers version of Eclipse)
-
Similar operation to installing Subclipse but different update site
-
See m2ecplise web page, particularly m2ecplise Download section
-
Pick their update site, e.g.: http://download.eclipse.org/technology/m2e/releases
-
Install plugins from their update site
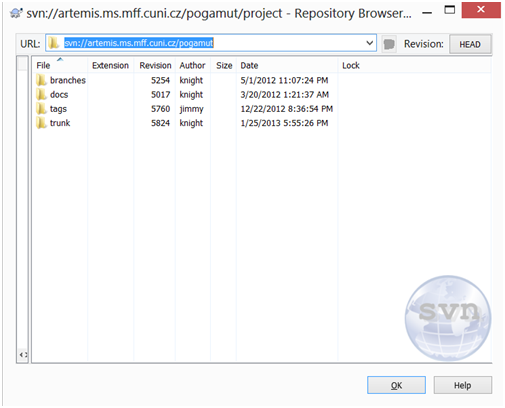
Now it is advised to use Tortoise SVN (or some other SVN client) to checkout desired Pogamut project from the SVN
-
Use svn://artemis.ms.mff.cuni.cz/pogamut/project for all projects
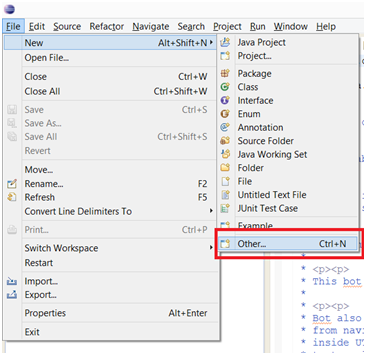
In Eclipse, right-click empty space in Package explorer window (usually located on the left upper side of Eclipse), click Import, choose Existing Maven Project and browse for folder where you have checked out the Pogamut SVN
-
Eclipse should load all Maven projects into the list and you may select which one you want to import
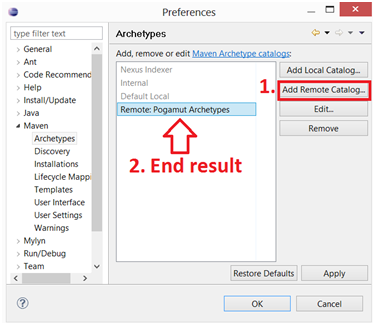
Alternatively, you may specify new remote catalog of archetypes via Eclipse->Window->Preferences->Maven->Archetypes
-
Click
-
Fill in catalog URL: http://diana.ms.mff.cuni.cz:8081/artifactory/libs-release-local/archetype-catalog.xml
-
Name it as: Pogamut Archetypes
-
Click
-
After that you may create new Maven project based on archetype from the catalog, note that we're regularly updating the catalog with each release of the Pogamut platform
-
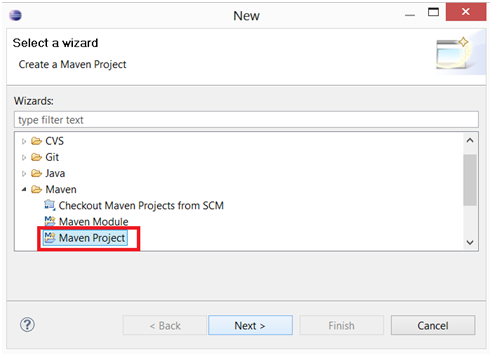


-
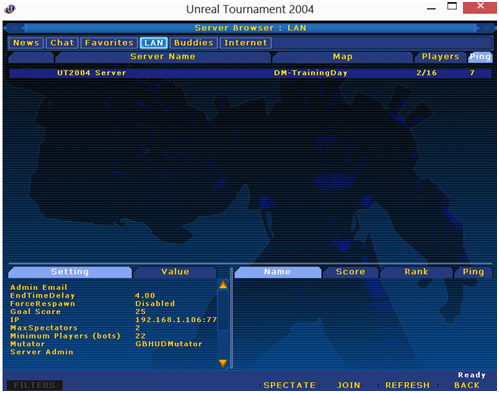
Assuming successful installation of Pogamut for NetBeans previously, head to the following (or respective) directory and run DM Server, may need to run as admin
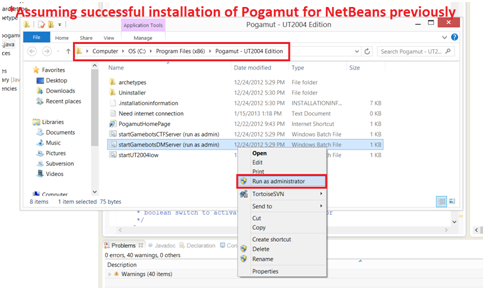
-
Server up and running
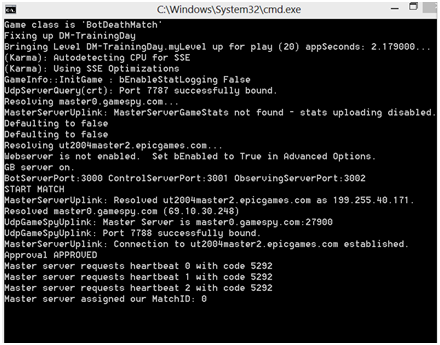
-
Run HunterBot.java
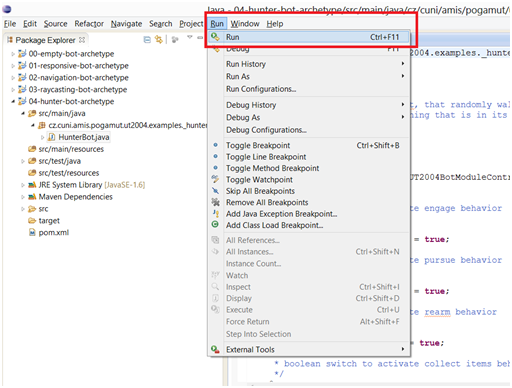
-
Open UT2004->Join Game->Lan